Basic Techniques and Fundamentals of Woodcraft
|
|
Its best to understand the basic techniques and fundamentals of woodcraft before starting your wood project will help make your endeavor
successful.
|
|
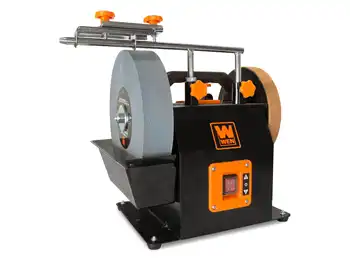
The products below can be found on Amazon.com. By clicking on a product below a detailed Amazon listing will open. Wenahawood.com is not paid by Amazon for any products sold on Amazon via Wenahawood.com.
|
Prioritize Safety
|

|
|
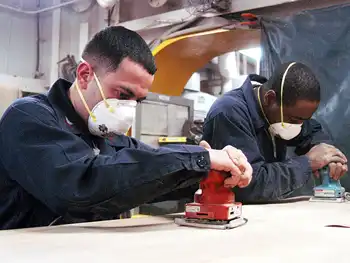
Always wear your PPE, your personal protective equipment such as safety glasses, hearing protection, and a respirator or dust mask. Do not wear
loose jewelry or clothing that can get caught in machinery.
|
|
Keep Tools Sharp
|
|
Dull bits and blades are more dangerous by increasing friction on the tools and increasing the risk of tools kicking back.
|
|
Measure Twice, Cut Once
|
|
The classic adage points to the fact it is better to take your time, avoid costly mistakes and wasting materials.
|
Understand Wood Movement
|
|
Wood expanding and contracting is called wood movement, which is the response to changes in temperature, moisture, and humidity. Finished projects
can crack and warp over time if wood movement is not considered.
|
Undertake Simple Projects
|
|
As your skills improve your confidence and ability to begin and complete complex projects will improve.
|
|
Many simple projects can be completed with just a few essential basic tools.
|
|
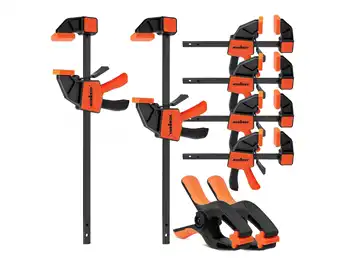
Clamps
|
|
Clamps are essential for holding pieces in place for safe and accurate cutting or for keeping glued pieces tightly held together while the piece
dries.
|
|
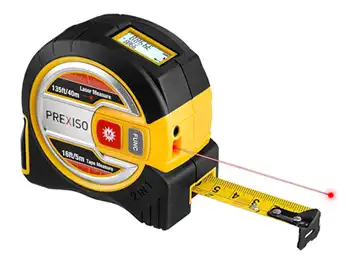
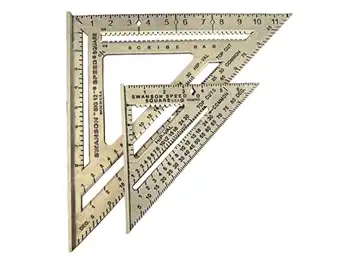
Tape Measures and Squares
|
|
Using tape measures and squares to accurately measure and for marking your projects is essential for accuracy in your measurements.
|
|
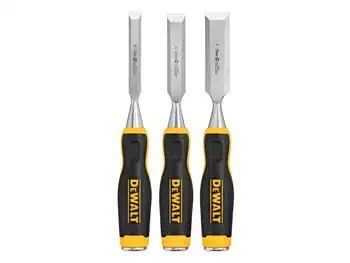
Chisels
|
|
Learning to properly use chisels for carving wood and creating joints is essential in your craftsmanship. Learning to properly clean and sharpen
chisels will improve your control.
|
|
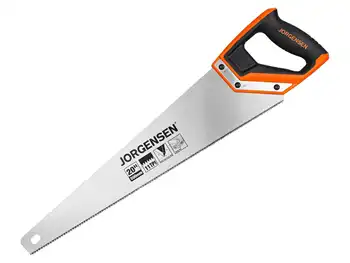
Hand Saws
|
|
Hand saws are basic tools for making straight cuts.
|
|
Sanding blocks and sandpaper
|
|
There is a range of sandpaper grits for properly sanding your projects before finishing, and sanding blocks to make it easier to sand and to keep
your sanding level.
|
|
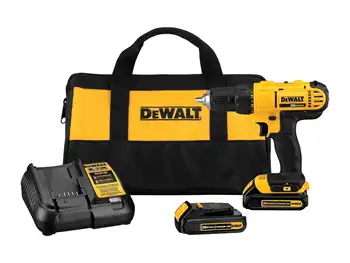
Power Drills
|
|
Used for drilling holes and driving screws.
|
|
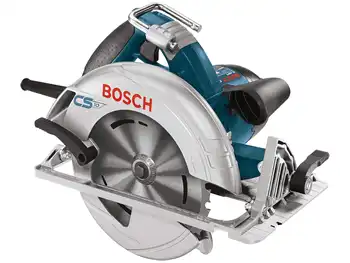
Circular saws
|
|
Portable saws for making quick, straight cuts on wood.
|
|
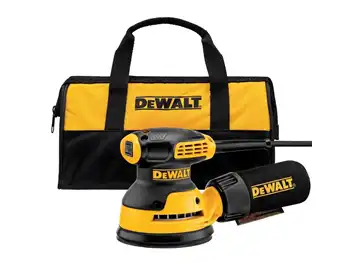
Orbital sanders
|
|
Orbital sanders quickens the sanding process on large surfaces.
|
Hardwood and Softwood
|
|
Hardwoods such as maple and oak have denser grain and are more durable than softwoods like cedar and pine which are less dense, less hard, but
easier to work with and craft; however, they are soft and dent easier.
|
|
The grain pattern affects both the strength and the appearance of the wood, and some species have a very open grain and may require filler to
accomplish an ideal finish.
|
|
Let the wood adjust to the climate of your work area from a few days to a week before use, this allows the wood moisture to stabilize and reduces
cracking and warping after finishing.
|
|
Inspect the wood for cracks, knots and warping before purchase. It is best to begin with straight and flat boards, especially for beginning
wood-craftsmen.
|
|
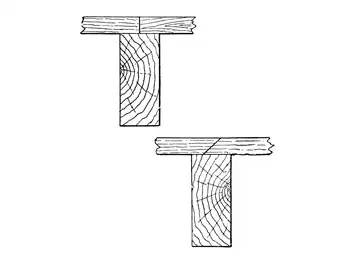
Butt Joint
|
|
The simplest joint is the butt joint where two boards and butted together and held with glue, nails or screws.
|
Pocket-Hole Joint
|
|
The pocket-hole joint is a technique that uses a jig to drill an angled hole, which allows you to drive a screw through one board into another.
It is an easy and strong joint for many projects.
|
|
|
Always start with a simple finish such as brush on polyurethane, which is a good choice for beginners, being inexpensive, durable and easy to
apply with a brush.
|
|
Always test the finish on the same type of scrap wood to test the absorption and color.
|